The beauty of a garden goes beyond the plants and flowers; it also extends to the boundaries that define it. Installing your own garden fencing not only enhances the aesthetic appeal of your outdoor space but also provides security, privacy, and delineation. In this comprehensive guide, we will explore everything you need to know about the DIY approach to installing your own garden fencing.
Understanding Fence Installation
Fence installation may seem daunting at first glance, but with the right knowledge and tools, you can transform your garden space effectively. Understanding the fundamentals of fence installation is crucial before embarking on this DIY journey.
What is Fence Installation?
Fence installation involves setting up a barrier around a property or area for various purposes such as privacy, security, or decoration. This process includes planning, measuring, and assembling different types of fencing materials based on your specific needs.
Why Choose DIY Over Professional Services?
While hiring professional fence installation services may seem convenient, many homeowners prefer the DIY approach for several reasons:

Types of Garden Fencing Materials
Choosing the right material for your garden fence is essential as it impacts aesthetics, durability, and maintenance. Here are popular materials used in garden fencing:
1. Wood Fence Installation
Wood fences provide a classic look and can be customized easily. They're great for privacy but require regular maintenance to prevent rot.
Advantages of Wood Fences
- Aesthetic appeal Versatile designs Can be painted or stained
Disadvantages of Wood Fences
- Requires regular upkeep Vulnerable to pests
2. Vinyl Fence Installation
Vinyl fences are gaining popularity due to their low maintenance and durability.
Benefits of Vinyl Fences
- Resistant to weather conditions No painting required Long-lasting lifespan
3. Chain Link Fence Installation
A chain link fence is an economical choice that offers security without obstructing visibility.
Pros of Chain Link Fences
- Affordable Durable and long-lasting Low maintenance
Cons of Chain Link Fences
- Limited privacy Less visually appealing compared to wood or vinyl
4. Aluminum Fence Installation
Aluminum fences offer elegance without compromising strength.
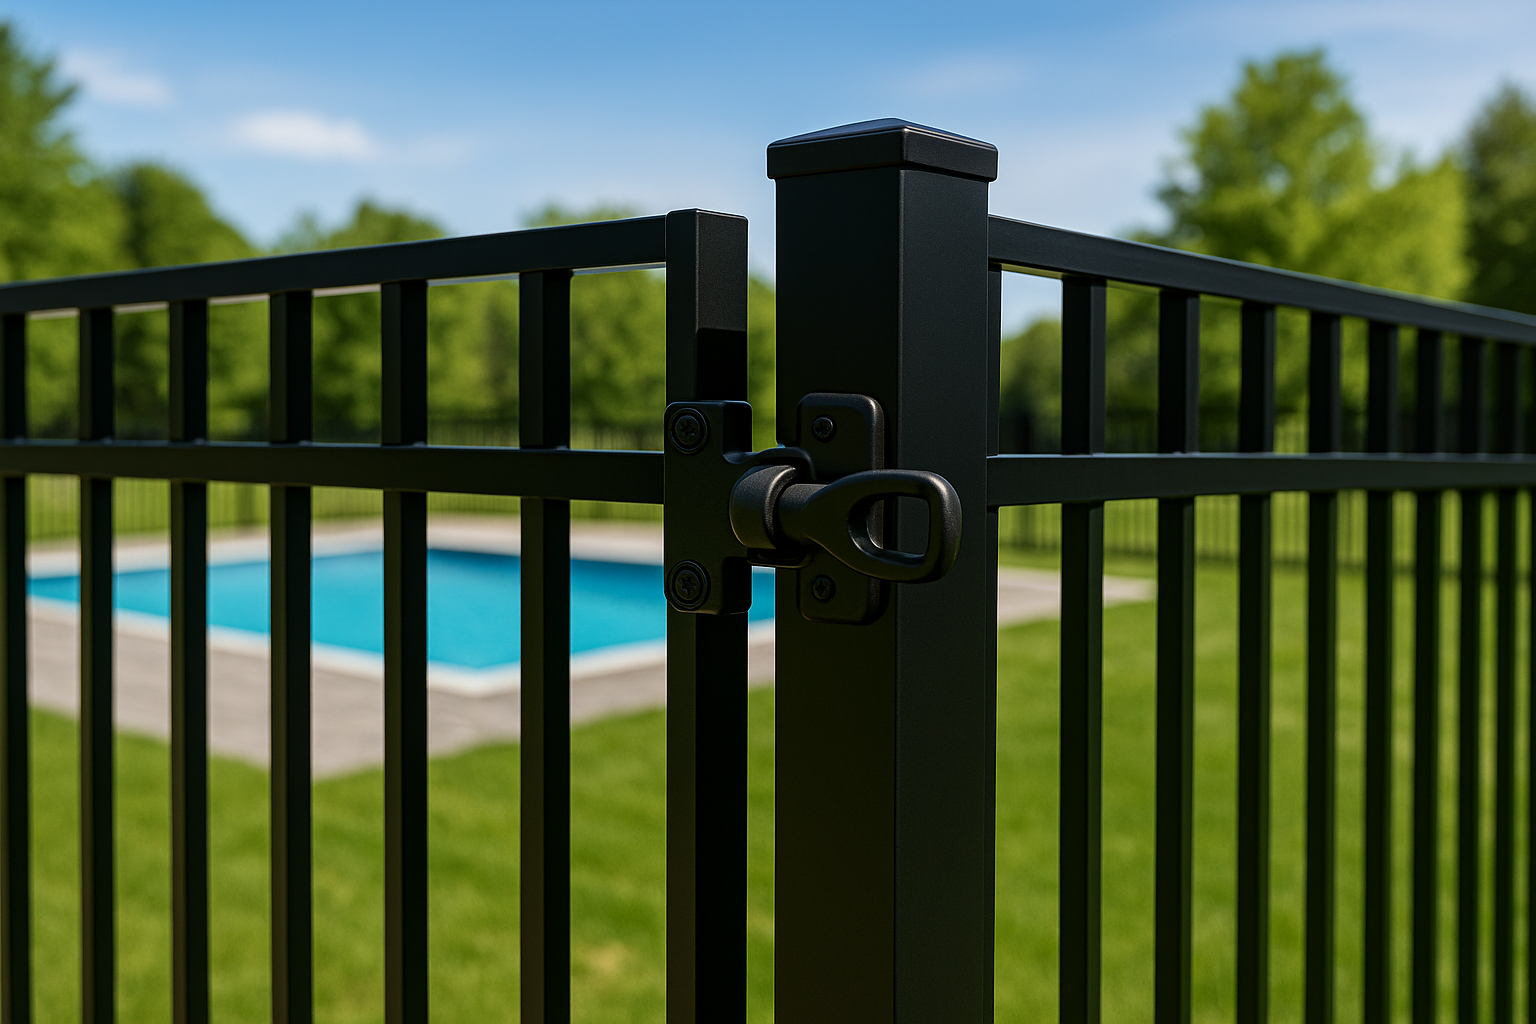
Key Features of Aluminum Fences
- Rust-resistant Lightweight yet sturdy Low maintenance requirements
5. Ornamental Iron Fence Installation
For those seeking sophistication, ornamental iron fences add an upscale touch while ensuring security.
Planning Your Fence Installation Project
Before you dive into the actual installation process, careful planning is essential.
Assessing Your Needs
Ask yourself:
- What is the primary purpose of the fence? Do I need privacy or security?
This will dictate the type of material you choose as well as its height and style.
Research Local Regulations
Different municipalities have varying regulations regarding fence heights and types. Always check with local authorities before proceeding with your project.
Selecting the Right Location
Consider where you want your fence placed:
- Boundaries with neighbors Areas requiring more privacy
Mark these locations clearly using stakes or spray paint.
Tools Needed for Fence Installation
1. Essential Tools List
Here’s what you’ll need: | Tool | Purpose | |------|---------| | Post Hole Digger | Digging holes for fence posts | | Level | Ensuring posts are straight | | Tape Measure | Measuring distances accurately | | Hammer | Driving nails into wooden fences | | Power Drill | For screws in vinyl/aluminum installations |
2. Safety Gear
Don't forget safety gear like gloves and goggles!
Step-by-Step Guide: The DIY Approach to Installing Your Own Garden Fencing
Let’s break down the steps involved in installing your own garden fencing:
1. Marking Your Perimeter
Using stakes or flags, mark where you'd like your fence line to go—this will help visualize how everything will look once installed.
2. Digging Post Holes
Dig holes deep enough (at least 1/3rd of the post length) to ensure stability; it’s advisable to make holes wider at the bottom than at the top for better anchoring.
3. Setting Up Posts
Place each post in its hole; use a level to ensure it's vertical before filling it with concrete or dirt for stability.
4. Attaching Panels or Rails
Depending on your chosen material:
- For wooden fences: Attach panels directly to posts. For vinyl or aluminum: Follow manufacturer instructions carefully!
5. Making Adjustments
Once everything is set up, take a step back and assess whether any adjustments are needed before securing everything in place permanently.
Common Challenges During Fence Installation
Even seasoned DIYers face challenges during installation—here's how to tackle common issues:
Uneven Ground
When dealing with uneven terrain:
Consider adjusting post heights. Use appropriate panels that accommodate slopes seamlessly.Weather Conditions
Avoid installing during rainstorms; muddy ground can complicate digging holes effectively!
FAQ Section
Q1: How much does fence installation typically cost?
A1: Costs vary based on materials used but generally range from $15-$50 per linear foot depending on factors like labor rates in your area and complexity involved in custom designs.
Q2: What is included in professional fence installation services?
A2: Professional services often include consultation about design options, obtaining permits if necessary, full setup including digging holes & securing panels/posts properly—all while adhering strictly to local regulations!
Q3: Can I install my own pool fence?
A3: Yes! Pool fences must meet specific safety standards; ensure compliance with local laws when choosing materials & heights accordingly!
Q4: How do I maintain my wood fence?
A4: Regular staining/painting helps protect against moisture damage—cleaning debris periodically also prevents decay over time!
Q5: Is vinyl fencing worth it?
A5: Absolutely! While upfront costs might be higher than wood alternatives initially—its durability & low-maintenance nature often make it more cost-effective long-term!
Q6: What should I consider when hiring licensed contractors?
A6: Ensure they have excellent reviews/testimonials from past clients along with proper insurance coverage—request estimates upfront too!
Conclusion
Installing your own garden fencing can be an incredibly rewarding project that not only enhances your outdoor space but also provides much-needed privacy and security. With careful planning, thorough research on materials, tools preparation, patience during execution – success is within reach! Whether you opt for wood, vinyl, chain link or aluminum options—embracing "The DIY Approach" allows you complete control over aesthetics while saving money too! So roll Eagle Fencing vinyl fence installation up those sleeves because it's time to transform that backyard into something spectacular!
In summary, "The DIY Approach: Tips for Installing Your Own Garden Fencing" serves as a comprehensive guide filled with practical advice aimed at empowering homeowners through knowledge while ensuring beautiful landscapes come alive behind secure boundaries!